reverse osmosis system installation: what it involves
RO installation takes 1-3 hours and costs $300-$900 installed. See the four connections, drain saddle, air gap, tank pressure, and first-flush steps.
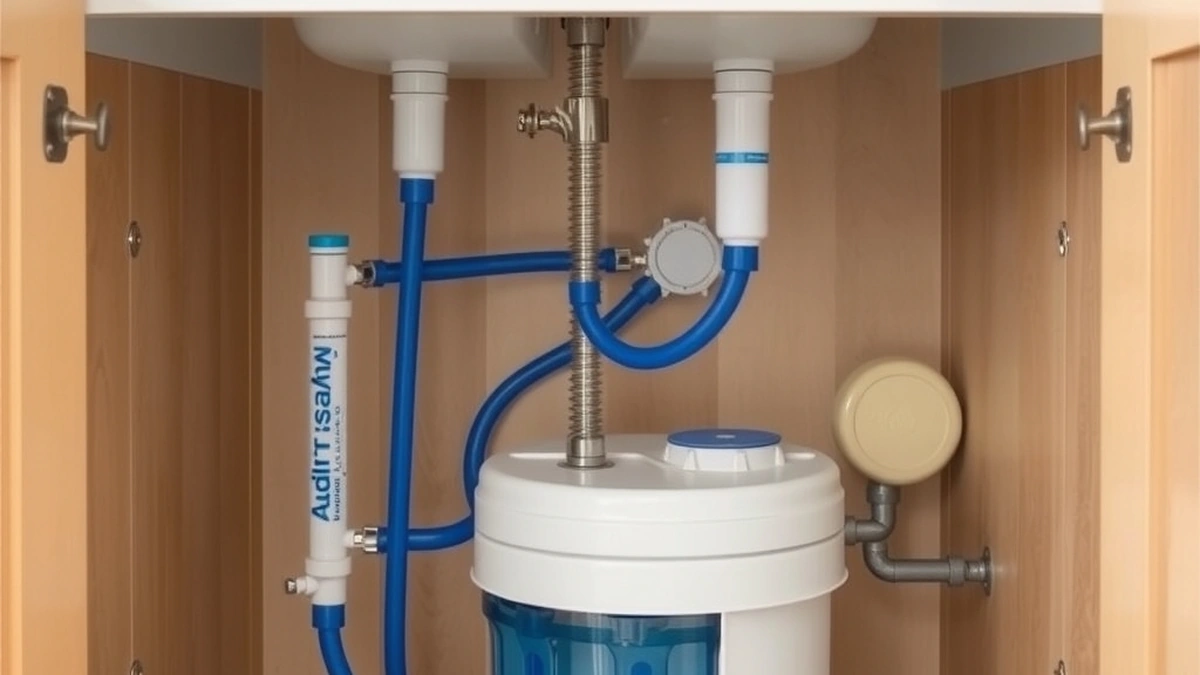
Reverse osmosis system installation takes 1-3 hours and costs $300-$900 installed. It involves four connections: cold supply, drain saddle, storage tank, and faucet, plus a 2-5 minute flush before the first glass.
- Installed cost
- $300 - $900
- Labor time
- 1 - 3 hours
- Connections
- 4
- Waste ratio
- 3-4:1
- Membrane life
- 2 - 3 years
Some links on this page are affiliate links.If you buy through them we may earn a commission at no extra cost to you. We do not accept payment for rankings. Read the full disclosure.
Reverse osmosis system installation takes 1-3 hours and costs $300-$900 installed, most of which is the unit itself at $200-$600. The job comes down to four connections: cold supply, drain, storage tank, and faucet. Everything else is routing tubing and checking for leaks.
What goes under the sink
A reverse osmosis system is a point-of-use treatment unit that forces water through a semipermeable membrane at pressure, rejecting 80-95 percent of dissolved solids along with most larger contaminants. Residential units stack a sediment pre-filter, one or two carbon stages, the membrane, and often a post-carbon polisher.
The installation package is small: the manifold with housings, a storage tank, a faucet, tubing, a drain saddle, and a feed valve. That is why the job is measured in hours rather than days.
The one hard constraint is the drain. RO produces a concentrate stream at a 3-4:1 waste ratio, so every gallon of permeate sends 3-4 gallons to the drain. That water has to leave the cabinet.
The four connections
| Connection | What it attaches to | Common fitting |
|---|---|---|
| Feed | Cold supply valve or a tee | 3/8-inch compression or push-fit |
| Drain | Sink trap or standpipe | 1/4-inch saddle, 7/8-inch hole |
| Tank | Manifold tank port | 1/4-inch quick connect |
| Faucet | Faucet shank under counter | 1/4-inch or 3/8-inch push-fit |
Each connection is a push-fit or compression joint. None requires soldering, which is why RO installs are popular DIY work. The drain saddle is the only step that involves drilling, and it is a 7/8-inch hole in plastic drain pipe.
The drain is where installs go wrong
A saddle clamp must sit on a straight run of drain pipe, above the trap, with the hole drilled through one wall only. Drill through both walls and the clamp cannot seal. Mount it below the trap and sewer gas can migrate toward the cabinet.
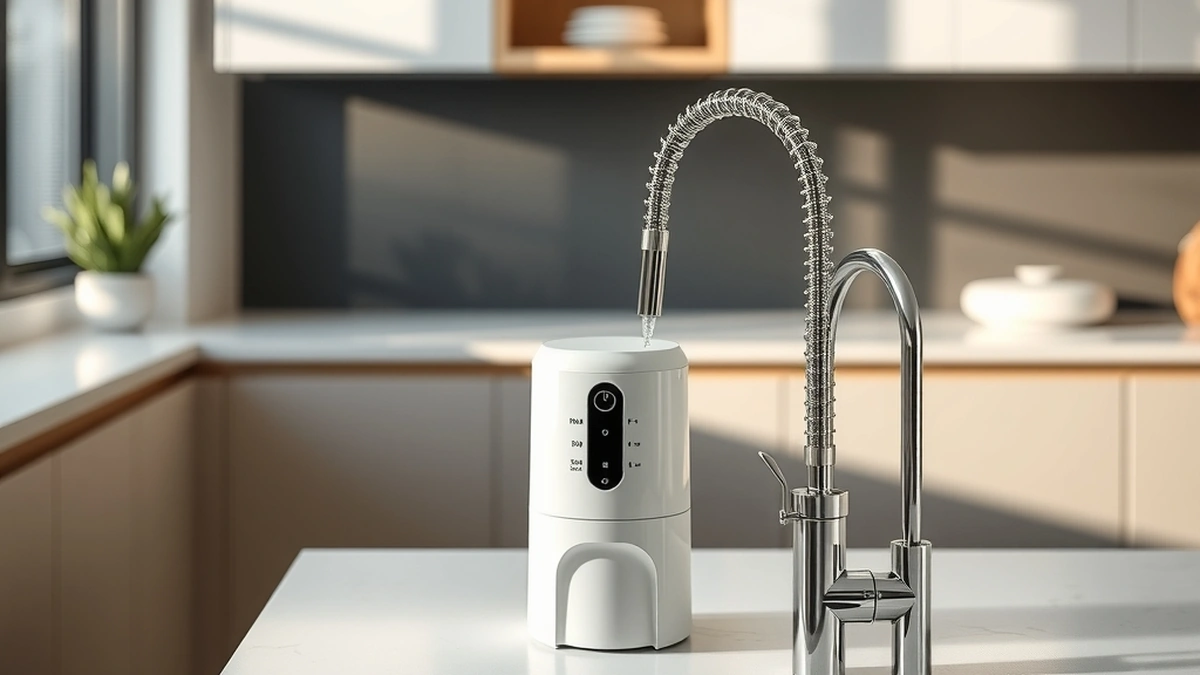
An air gap faucet solves backflow prevention with a physical break, which is why many codes require one. The tradeoff is noise: an air gap gurgles as concentrate passes through. A non-air-gap faucet with a check valve is quieter but may not satisfy the local inspector.
Route the drain line with a continuous downward slope and no loops. A sagging line traps water, and a trapped line stops concentrate flow, which floods the membrane housing and kills the membrane in weeks.
If the cabinet has no trap nearby, a standpipe or a routed line to a utility sink works. What does not work is discharging concentrate onto a cabinet floor or into a bucket. Reverse osmosis maintenance covers what happens when the drain clogs and the system keeps running.
Pressure, tank, and production
Most residential membranes want 40 psi or more. At 40 psi and 77°F, a 50-gallon-per-day membrane produces roughly its rating; at 50 psi it produces more, and at 30 psi it drops sharply. Cold water cuts output too, roughly in half at 40°F.
A booster pump at $60-$150 fixes low pressure and is common on well systems. It also improves rejection and reduces waste, so it pays back on both water and membrane life.
Tank pressure is the second number. A bladder tank ships precharged at 7-8 psi and should be checked annually with a bicycle gauge, with the tank empty. Low precharge means the tank holds less water and the faucet runs dry early. High precharge means the pump short-cycles.
Tanked versus tankless install
| Factor | Tanked RO | Tankless RO |
|---|---|---|
| Cabinet space | Needs 12-18 inches of height | Hangs on a bracket, 4-6 inches |
| Time to first glass | Immediate | 15-60 seconds |
| Steady output | Limited by tank volume | 0.4-0.8 GPM continuous |
| Extra parts | Bladder tank | Booster pump and controller |
| Installed cost | $300 - $900 | $300 - $900 |
The install effort is similar. Tankless units trade the tank connection for an electrical outlet, since the pump needs power. If there is no outlet in the cabinet, add $150-$350 for an electrician.
Six steps to install it
- Close the cold shutoff, open the faucet, and confirm the line is depressurized.
- Fit the feed valve on the cold supply and connect the 1/4-inch line to the manifold inlet.
- Drill the 7/8-inch drain hole, clamp the saddle, and run the drain line with a downward slope.
- Mount the faucet, then connect its tube to the manifold outlet.
- Connect the tank, open the feed valve, and check all four joints for weeping.
- Flush for 2-5 minutes with the tank valve closed, then fill the tank and discard the first batch.
What changes the quote
Four conditions move the price: whether a faucet hole exists, whether the supply valve works, whether an outlet is present for a pump, and whether the drain is reachable. A stone counter with no fourth hole adds $95-$250 for drilling and a faucet.
Old plumbing is the other variable. A seized shutoff, a corroded trap, or a saddle that cannot seal turns a $300 install into a $500 one. Budget the middle of the $300-$900 band and keep $150 in reserve.
For the wider cost picture including annual filters, tankless reverse osmosis cost and reverse osmosis system cost break out consumables. If you are deciding whether RO is the right tool at all, what reverse osmosis removes sets the expectation at 80-95 percent rejection, not perfection.
Frequently asked questions
How long does reverse osmosis installation take?
One to three hours for a standard under-sink unit. Drilling a faucet hole in a stone counter or adding a permeate pump can push it toward four hours.
Do I need a drain for a reverse osmosis system?
Yes. The concentrate stream must go to a drain, usually through a saddle clamped to the sink trap or a routed line to a standpipe. Without a drain the system cannot operate.
What is an air gap faucet and do I need one?
An air gap faucet creates a physical break between the drain and the drinking water line to prevent backflow. Many plumbing codes require one; check locally before buying a non-air-gap faucet.
How much pressure does an RO system need?
Forty psi or more for acceptable production. Below that, a booster pump adds $60-$150 and restores output, which matters on well systems with a 30-50 psi setting.
How long do I flush a new RO system?
Two to five minutes with the tank valve closed, then discard the first tank of water. New carbon cartridges shed fines that would otherwise end up in the glass.
Can I install an RO system myself?
Yes, on a standard under-sink cabinet with a shutoff valve and a drain trap. The work is push-fit tubing and one saddle clamp, with no soldering required.
Sources
Some links are affiliate links.If you buy through them we may earn a commission at no extra cost to you. We do not accept payment for rankings. Read the full disclosure.