RV water filter installation: what it involves
RV water filter installation takes 5-20 minutes with no tools: connect at the spigot or mount a canister. See hose, regulator, and winterizing steps.
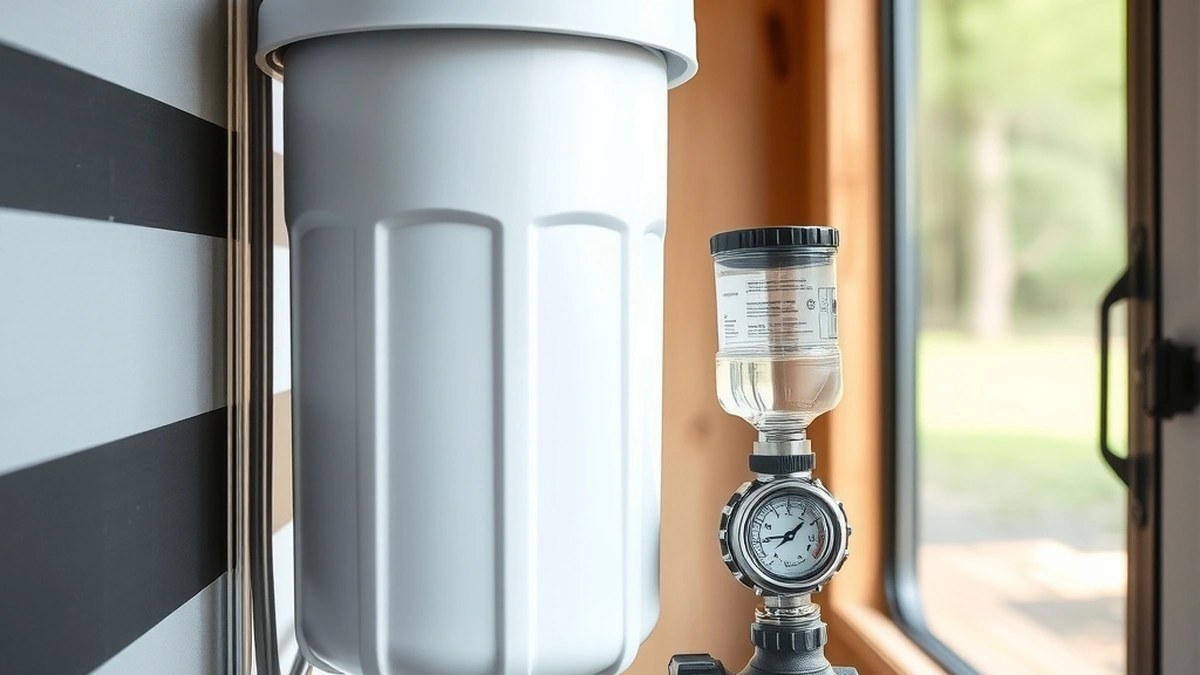
RV water filter installation takes 5-20 minutes and needs no tools. An inline filter threads onto the campground spigot, a canister unit mounts on a bracket, and both need a pressure regulator set to 45-55 psi.
- Install time
- 5 - 20 minutes
- Filter cost
- $20 - $180
- Regulator
- $12 - $30
- Hose
- $20 - $45
- Cartridge life
- 3 - 6 months
Some links on this page are affiliate links.If you buy through them we may earn a commission at no extra cost to you. We do not accept payment for rankings. Read the full disclosure.
RV water filter installation takes 5-20 minutes and needs no tools. An inline filter threads onto the campground spigot in about a minute; a canister unit with a bracket and a short hose run takes 15-20. Both need a pressure regulator ahead of them.
The two setups
An RV water filter is a point-of-use device that treats water between the campground spigot and the rig’s plumbing. Two configurations cover almost every rig.
The inline setup is a disposable cartridge body that threads onto the spigot or the end of the hose. It costs $20-$45, weighs a few ounces, and is replaced rather than serviced.
The canister setup is a reusable housing on a bracket or a stand, holding a 10-inch cartridge. It costs $60-$180, uses commodity cartridges at $15-$40, and mounts either at the rig’s inlet or on a short stand next to the water bay.
Hooking it up, step by step
- Flush the campground spigot for 10-15 seconds before connecting anything.
- Thread the pressure regulator onto the spigot, using a fresh washer.
- Connect the drinking-water hose to the regulator.
- Thread the filter onto the hose end, observing the flow arrow.
- Connect the filter outlet to the rig’s city water inlet.
- Open the spigot slowly and check every joint for weeping.
- Run water at a tap for a minute to clear air and carbon fines.
The flow arrow matters. Most canister filters are directional, and reversing one pushes media into the rig’s plumbing and clogs aerators.
Regulator first, always
Campground pressure varies wildly. A park at the bottom of a hill might run 45 psi; one fed directly from a municipal main can exceed 100 psi. Most RVs are rated for 40-60 psi, and filter housings are often rated to 100 psi or less.
A $12-$30 regulator set to 45-55 psi protects both. Put it ahead of the filter, not after, so the housing sees regulated pressure.
An adjustable regulator at $30-$60 is worth the difference over a fixed 40 psi model, because some rigs and some shower fixtures want 50-55 psi to perform well.
Placement decisions
| Location | Pros | Cons |
|---|---|---|
| At the spigot | Hose stays clean | Filter exposed to weather and theft |
| At the rig inlet | Protected, easy to check | Hose carries sediment |
| Two-stage split | Best filtration, hose protected | More parts to store |
| Under-sink kit | Best drinking water | Only one tap |
The split approach is what most full-timers settle on: a $15-$25 coarse sediment inline at the spigot, then a two-stage carbon canister at the rig. The cheap filter takes the sand, and the expensive cartridges last longer.
Water quality on the road
Campground water comes from municipal mains, private wells, and everything between. A filter is not a treatment plant: it reduces sediment, chlorine, and taste, and it does nothing about bacteria or nitrate.
If the park runs off a well with a boil-water notice, filtration does not make the water safe. Bottled water or a UV unit is the answer, and a UV unit for an RV is a $200-$500 addition that needs power and a clear water stream.
Sediment is the most common issue. Parks that flush their lines in spring send rust and grit through the system, and a filter that catches it saves the rig’s pump and aerators. Sediment in well water explains what that material usually is.
Winterizing and storage
Remove the cartridge before the first freeze. A housing full of water cracks, and a cracked housing is a $40-$120 replacement.
Drain and dry the housing, then store it with the cartridge out and the cap loose. A cartridge left wet in a closed housing grows biofilm over the winter and smells when you reconnect in spring.
Blow out the hose with air or hang it to drain. A hose that freezes with water inside splits along its length.
For the drinking-water side of the rig, RV water filter cost covers the price bands. And if you are choosing a unit, how to choose a RV water filter compares cartridge availability and flow ratings.
What the install does not fix
A filter will not fix a sulfur smell, iron staining, or hardness. Those are source problems, and an RV filter will exhaust in weeks trying to handle them.
A filter will not raise low pressure. If the park runs 30 psi, the shower will be weak regardless of the filter, and a regulator set higher than the supply does nothing.
A filter will not make questionable water potable. That distinction is worth repeating because campground water quality varies more than municipal water, and the consequences of getting it wrong are worse than a bad taste.
A five-minute hookup routine
The install is simple enough that most problems come from skipping steps, not from the hardware. A routine you repeat at every site prevents nearly all of them.
Flush the spigot before connecting. Campground lines sit unused for weeks, and the first few seconds carry rust and biofilm from the riser. Let it run until the water is clear, then connect.
Check the washer every time. Rubber washers flatten and crack, and a missing washer produces a leak that looks like a cracked housing. Keep a bag of spares; they cost a few cents each.
Open the spigot slowly. A fast open sends a pressure spike through the hose and the housing, which is the moment a tired fitting lets go.
Look at the filter body after 10 minutes. A weep at the inlet thread means the washer is pinched, and tightening further usually makes it worse rather than better. Take it apart and reseat it.
At the end of the trip, drain the hose and store it coiled without kinks. A hose stored kinked develops a memory and a weak spot that fails the next season.
Frequently asked questions
How long does RV water filter installation take?
Five minutes for an inline filter that threads onto the spigot, and 15-20 minutes for a canister unit that needs a bracket and a short hose run. Neither requires tools beyond your hands.
Do I need a pressure regulator with an RV filter?
Yes. Campground spigots can exceed 100 psi while most RVs are rated for 40-60 psi. A regulator protects the filter housing and the rig's plumbing from a surge.
Where should the filter go: at the spigot or at the rig?
At the rig, after the regulator, if you want the hose protected from sediment. At the spigot if you want the hose itself filtered. Most full-timers put a coarse filter at the spigot and a carbon canister at the rig.
How do I winterize an RV water filter?
Remove the cartridge, drain the housing, and store it dry. A housing full of water will crack when it freezes, and a cartridge left wet can grow biofilm over the off season.
Can I use a garden hose with an RV water filter?
No. Use a white drinking-water hose rated for potable use. Garden hoses leach lead and plasticizers into the water, which defeats the filter.
How often should an RV filter cartridge be changed?
Every 3-6 months of use, or about 1,000-2,000 gallons. Change it sooner if flow drops or the water starts tasting like chlorine.
Sources
Some links are affiliate links.If you buy through them we may earn a commission at no extra cost to you. We do not accept payment for rankings. Read the full disclosure.