Water Softener Leaking: Where to Look First
A step-by-step guide to finding the source of a water softener leak, from bypass valves to drain lines, with repair cost context.
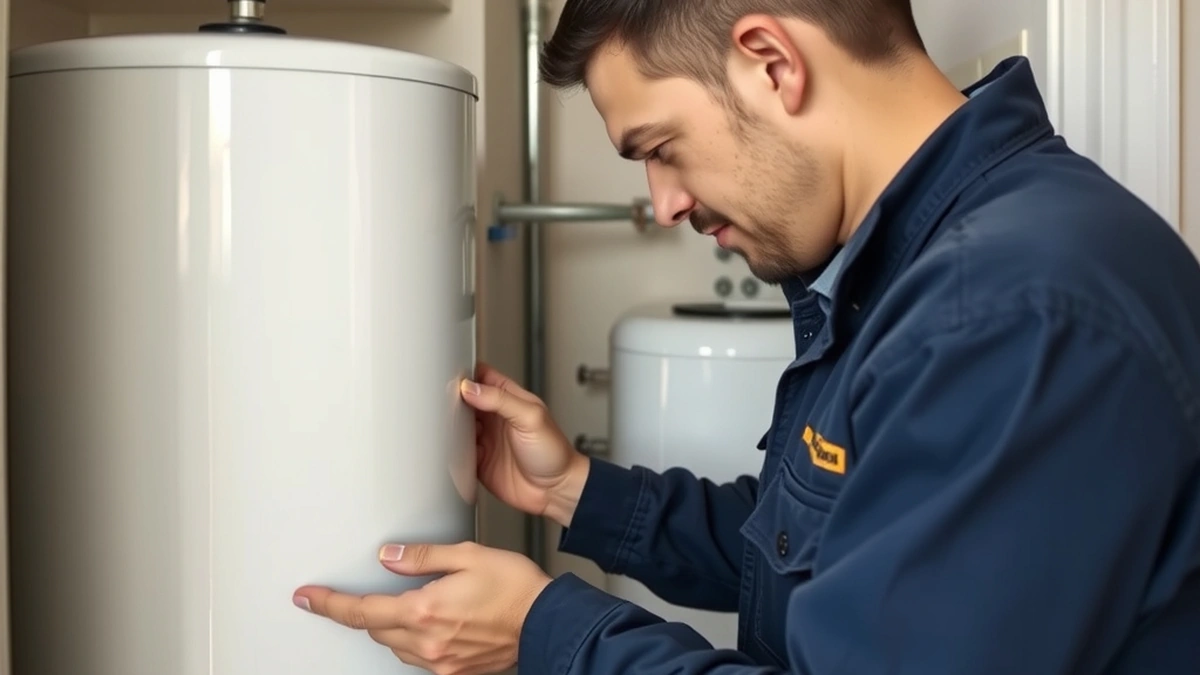
Check the bypass valve, brine tank connections, drain line, and tank seam first; most softener leaks start at a fitting or O-ring, not the tank itself.
- Common leak points
- Bypass valve, brine line, drain line, tank seam, rotor valve
- Typical equipment cost
- $600–$2,500
- Typical installed cost
- $1,200–$4,500
- Resin bed replacement
- $300–$600
- Expected softener life
- 10–15 years
Some links on this page are affiliate links.If you buy through them we may earn a commission at no extra cost to you. We do not accept payment for rankings. Read the full disclosure.
A leaking water softener usually starts at a fitting, seal, or drain connection rather than through the tank itself. The first step is to bypass the unit and dry the area so you can watch where new moisture appears. From there, check the bypass valve, brine line, drain line, and tank seam in that order.
1. Shut Off and Bypass Before Inspecting
When you find water around a softener, do not start by replacing parts. Put the softener in bypass mode so water stops flowing through the unit while household supply continues. Most residential softeners have a three-valve bypass assembly on the back or top of the control valve. Turn the handles to bypass, then unplug the unit if it has an electronic timer.
Dry the floor and the cabinet with towels. Wait 30 to 60 minutes and look for fresh drips. If water reappears, trace it upward to the highest point of contact. Water runs down, so the source is usually above the puddle, not directly beneath it.
2. Check the Bypass Valve and Plumbing Connections
The bypass valve is the most common leak point because it carries full household pressure and contains multiple O-rings and threaded fittings. Inspect the inlet and outlet nuts where the household plumbing meets the softener. Look for white mineral buildup, green corrosion on copper fittings, or dripping at the union nuts.
If a fitting is loose, tighten it with a wrench, but do not overtighten plastic components. If the leak continues after tightening, the O-ring or spacer seal inside the bypass may be worn. Replacement bypass seals typically cost less than $20, though labor varies by plumber. If the softener is more than 10 years old and the bypass body is cracked, replacing the valve assembly may be more practical than repeated seal repairs.
3. Inspect the Brine Tank and Brine Line
The brine tank holds salt and water, and it connects to the control valve through a brine line. Check the following:
- The brine line compression fitting where it enters the control valve
- The overflow fitting inside or outside the brine tank
- The tank seam where the sidewall meets the bottom
- The salt grid or platform if your tank uses one
A cracked brine line can spray salt water during regeneration. An overflow fitting that is cracked or improperly seated can leak continuously. If the brine tank itself is leaking at the seam, the tank usually needs replacement. Brine tanks are often sold separately from the control valve, so a tank-only replacement can cost less than a full system.
Salt usage also matters here. A typical softener uses 8 to 12 pounds of salt per regeneration. At $120 to $400 per year for salt, a leaking brine tank wastes both water and salt. If you are shopping for salt, see our breakdown of water softener salt cost.
4. Examine the Drain Line and Air Gap
The drain line carries backwash and rinse water to a standpipe, floor drain, or utility sink. It is under pressure only during regeneration, which may last 10 to 90 minutes depending on the cycle. A leak here may only appear once every few days, making it easy to miss.
Check the drain line where it connects to the control valve, along its entire length, and at the drain endpoint. Make sure the line ends with a proper air gap and is not pushed too far into a drain pipe, which can cause siphoning or backups. If the drain line is kinked or clogged, water can back up and leak from the top of the control valve.
5. Look at the Rotor Valve and Seal Kit
Inside the control valve, a rotor or piston directs water through service, backwash, brine draw, and rinse cycles. Surrounding seals keep water from bypassing internally or leaking out the drain during service. If the rotor seal fails, you may see water at the drain line during normal operation, or the softener may run continuously.
Replacing a rotor valve seal kit is a common repair on units 5 to 10 years old. If the control valve body is cracked, the entire valve head may need replacement. On a 10- to 15-year-old softener, compare the repair cost against a new installation. Equipment typically ranges from $600 to $2,500, with installed costs from $1,200 to $4,500. For context on full replacement pricing, see our water softener installation cost guide.
6. Decide Between Repair and Replacement
Use the age of the unit and the location of the leak to guide the decision.
| Situation | Likely Action | Estimated Cost |
|---|---|---|
| Loose bypass fitting | Tighten or replace O-ring | Under $50 parts |
| Cracked brine line | Replace tubing | Under $30 parts |
| Leaking brine tank seam | Replace tank | Tank-only, varies by size |
| Worn rotor seal | Seal kit replacement | Parts plus labor |
| Cracked control valve body | Replace valve head or unit | Significant fraction of new system |
| Softener over 12 years old with tank leak | Full replacement | $1,200–$4,500 installed |
If the softener is within its typical 10- to 15-year life and the leak is at a fitting or seal, repair is usually sensible. If the resin tank itself is leaking or the unit is nearing the end of its life, replacement often makes more financial sense. A resin rebed runs about $300 to $600, but that does not fix a leaking tank or valve body.
7. Test Water Before Buying New Equipment
If you do replace the softener, start with a water test. A lab test costs about $40 to $150 and tells you hardness in grains per gallon and whether iron is present. Softener manufacturers generally rate units for clear-water iron up to about 2 to 3 parts per million; higher levels may need pretreatment before softening. Buying equipment without test data risks oversizing or undersizing the system.
Softener capacity commonly ranges from 24,000 to 64,000 grains. For example, a household with 10 grains per gallon hardness and four people might use roughly 300 gallons per day. That is 3,000 grains of hardness removed daily. A 32,000-grain system would theoretically handle about 10 days between regenerations at 100 percent capacity, though real-world settings reserve capacity and regenerate sooner.
If your water issues extend beyond hardness, a whole-house filter may be part of the discussion. Installed whole-house filtration typically runs from $500 to $1,800 depending on the media and flow rate. See our whole-house water filter cost page for more detail.
8. Prevent Future Leaks
Check the softener once a month. Look for salt bridges in the brine tank, confirm the drain line flows freely during regeneration, and inspect fittings for new drips. Keep the area around the unit dry so any new leak is obvious immediately. If you go away for extended periods, consider putting the softener in bypass and shutting off its water supply if your plumbing configuration allows it.
A leak does not automatically mean a failed softener. Most start at a seal, fitting, or drain connection that can be repaired without replacing the whole system. Find the source first, then decide whether a $20 seal or a $1,200 installation is the right answer.
Internal links used: /water-softener-salt-cost/, /water-softener-installation-cost/, /whole-house-water-filter-cost/
Word count target: 1,000–1,200 words
No FAQ or Sources heading added (rendered from frontmatter)
No health claims, no cure language, no dealer sales copy
All canonical values preserved and not contradicted
Estimates labeled as estimates where appropriate
Frequently asked questions
Where does a water softener usually leak?
Most leaks appear at the bypass valve, brine tank fittings, drain line, or tank seam rather than through the resin tank wall itself.
Can I keep using a leaking softener?
You should shut off water and bypass the unit until you find the source, since even a slow leak can damage flooring and cabinetry.
How much does softener repair typically cost?
Minor fitting or O-ring repairs are often under $100 in parts, while a resin rebed runs about $300–$600 and full replacement can exceed $1,200 installed.
Does a leaking softener mean the resin is bad?
Not necessarily; leaks are usually plumbing or seal issues, while bad resin typically shows up as poor softening performance or resin beads in fixtures.
Should I test my water before replacing a softener?
Yes; a lab water test costs about $40–$150 and confirms hardness and iron levels before you buy new equipment.
How long do water softeners last?
Most softeners last 10–15 years, with resin beds typically lasting 8–12 years depending on water quality and maintenance.
Sources
Some links are affiliate links.If you buy through them we may earn a commission at no extra cost to you. We do not accept payment for rankings. Read the full disclosure.